Quick Start
Get your first prompt running in Scope in under 5 minutes. This guide walks you through signing in, configuring a provider, creating a prompt, testing it, and promoting it to production.
Prerequisites
- A base14 account with access to Scope
- An API key from at least one LLM provider (e.g., OpenAI, Anthropic)
Step 1: Sign in to Scope
Navigate to your base14 dashboard and open Scope. Scope is available to all base14 accounts — no additional setup is required.
Step 2: Configure a Provider
Before you can test prompts, Scope needs credentials for at least one LLM provider.
- Go to Settings > Providers
- Click Add Provider
- Select your provider (e.g., OpenAI)
- Enter your API key
- Click Test Connection to verify the key is valid
- Save the provider configuration
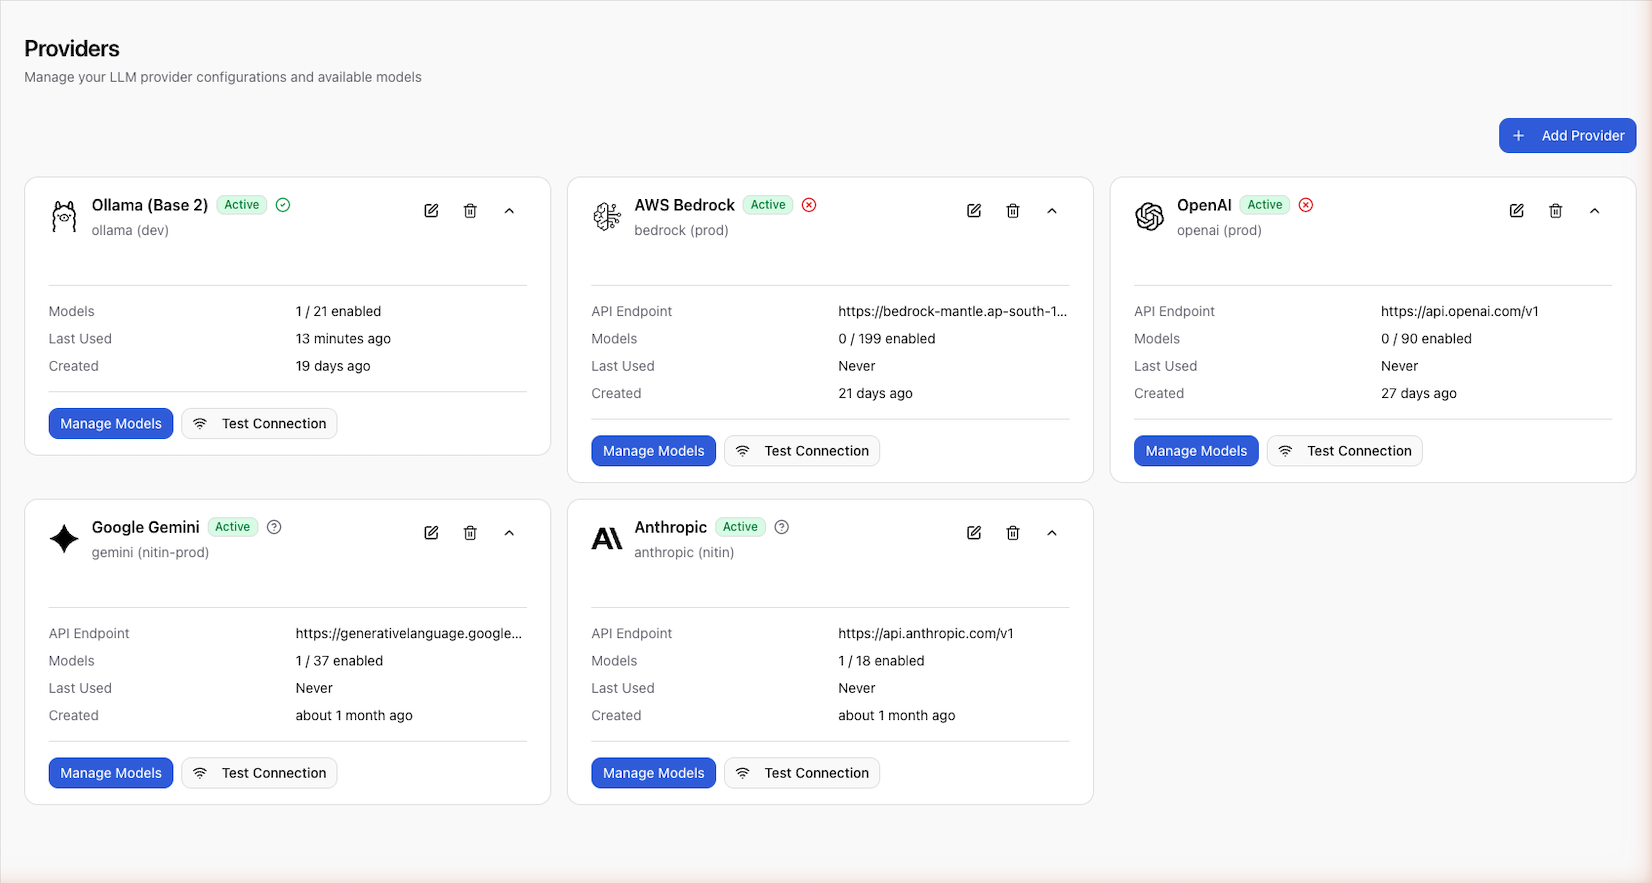
Once connected, enable the models you want to use (e.g., gpt-4o,
claude-3-opus).
You can configure multiple providers and switch between them when testing prompts. See Configure Providers for details.
Step 3: Create a Prompt
-
Click New Prompt from the prompt list
-
Enter a name (e.g.,
greeting) -
Add a description (e.g., "Greet the user and suggest an activity")
-
Add your prompt messages:
SYSTEM message:
You are a friendly assistant. Your goal is to greet the user by nameand suggest a fun activity based on their preference.HUMAN message:
My name is {{name}} and I enjoy {{preference}} activities.What should I try today?
Scope automatically detects {{name}} and {{preference}} as variables.
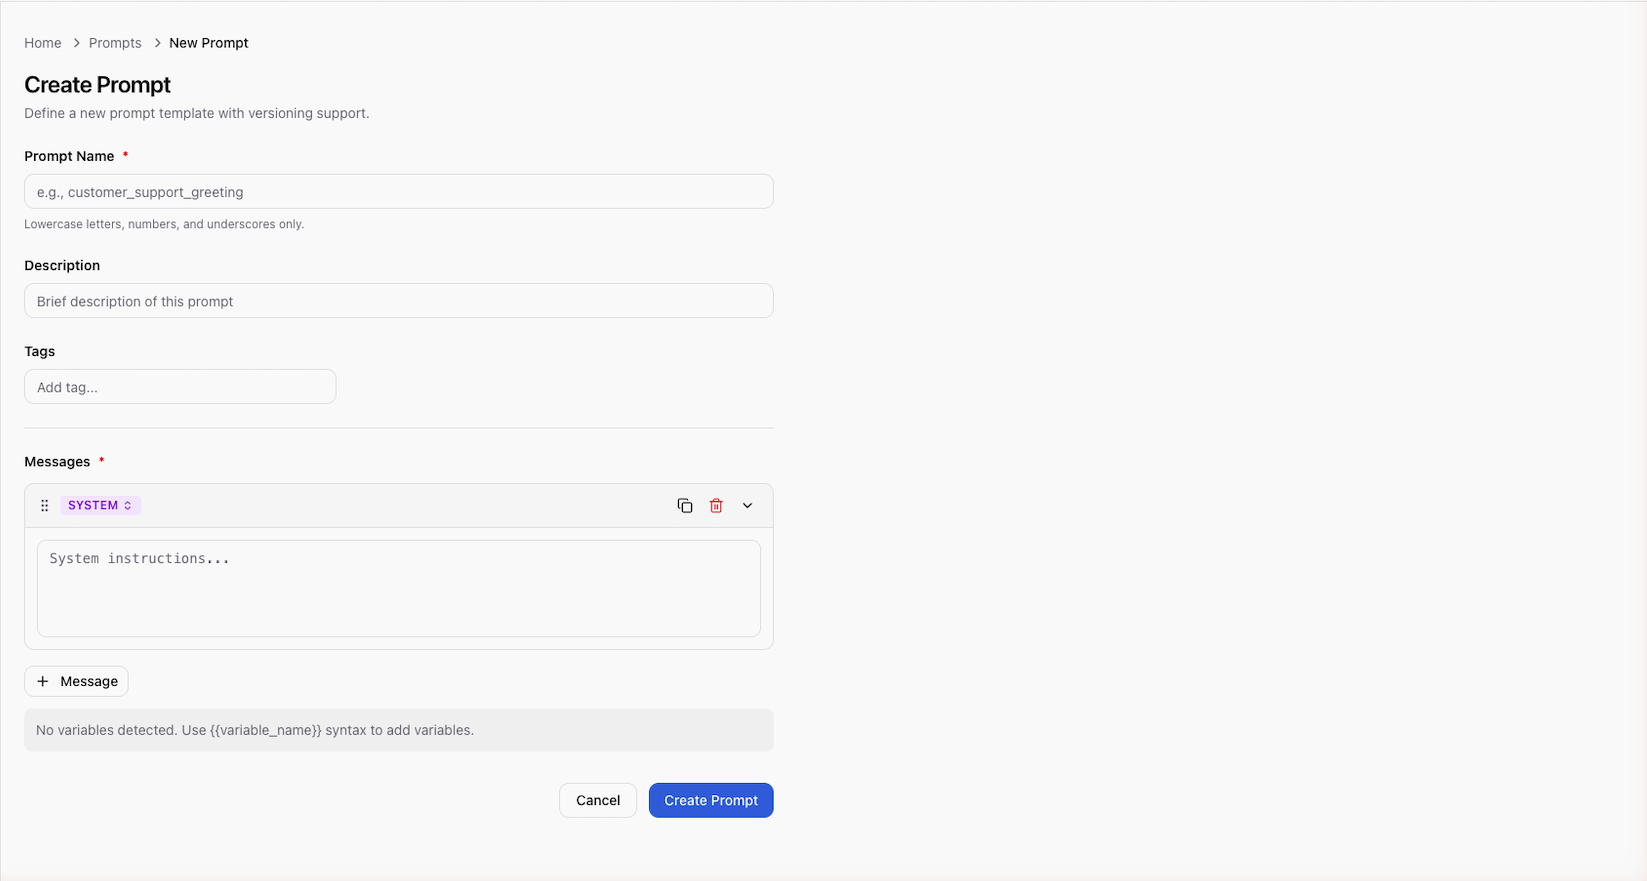
- Click Create — this creates version
v1in draft status
Step 4: Test the Prompt
- Open the prompt you just created
- Click Test to open the test panel
- Select a provider and model (e.g., OpenAI /
gpt-4o) - Fill in the variable values:
name:Alicepreference:outdoor
- Click Run
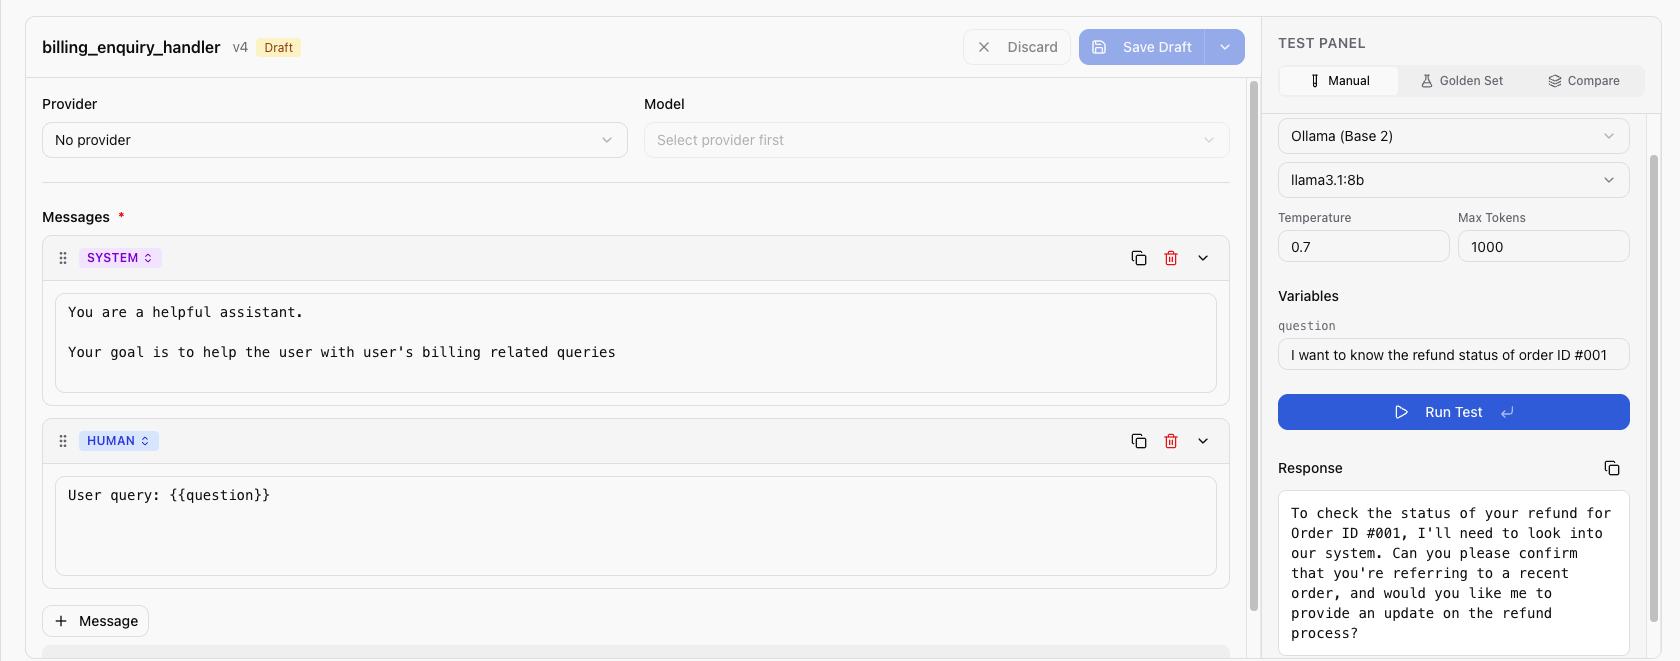
The test panel shows the LLM response along with token usage, latency, and estimated cost. Adjust your prompt and re-run until you're satisfied.
Step 5: Promote to Production
When the prompt is ready:
- Click Promote on the version you want to deploy
- Add optional promotion notes (e.g., "Initial release")
- Confirm the promotion
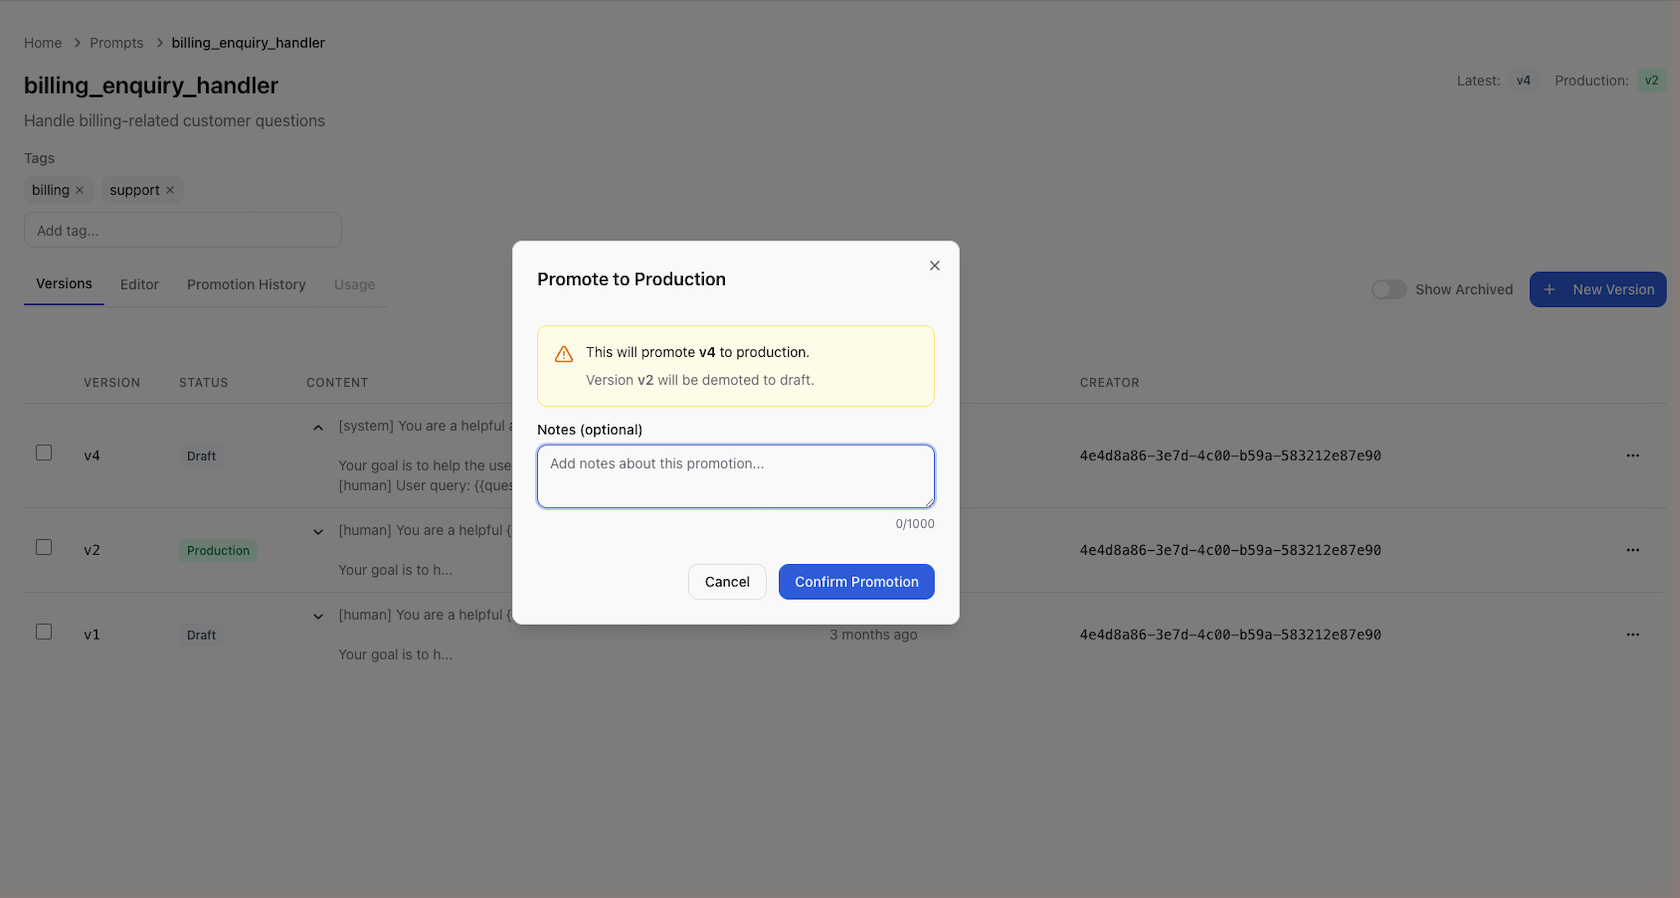
The version status changes from draft to published. Any application
using the SDK or API will now receive this version when requesting the
greeting prompt.
Step 6: Fetch from Your Application
Install the Scope SDK and fetch the prompt at runtime:
- Python
- Ruby
from scope_client import ScopeClient, ApiKeyCredentials

credentials = ApiKeyCredentials.from_env()
client = ScopeClient(credentials=credentials)

version = client.get_prompt_version("greeting")
rendered = version.render(name="Alice", preference="outdoor")
print(rendered)
require "scope_client"

credentials = ScopeClient::Credentials::ApiKey.from_env
client = ScopeClient::Client.new(credentials: credentials)

version = client.get_prompt_version("greeting")
rendered = version.render(name: "Alice", preference: "outdoor")
puts rendered
Pass the rendered string to your LLM provider of choice. See the SDK Quickstart for a full end-to-end example.
Next Steps
- Core Concepts — understand prompts, versions, variables, and promotion
- Configure Providers — add and manage LLM providers
- SDK Installation — install the SDK for Python or Ruby
- API Reference — use the REST API directly